Version:
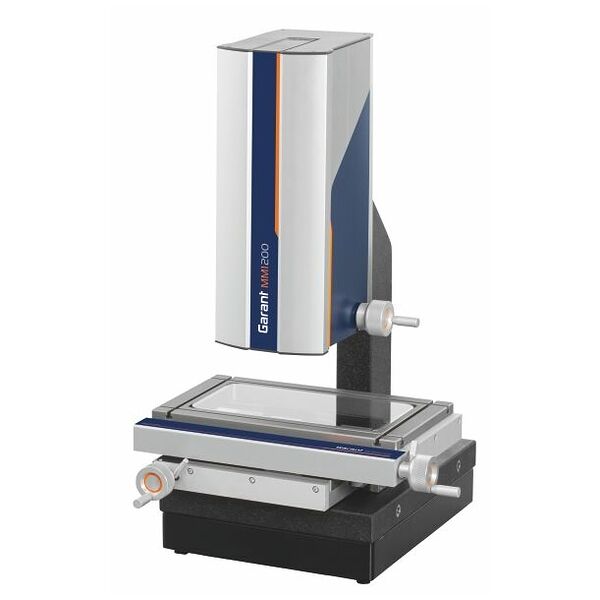
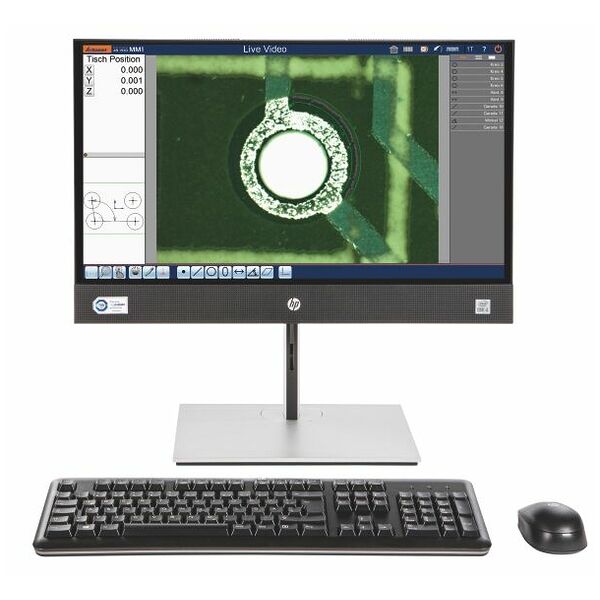
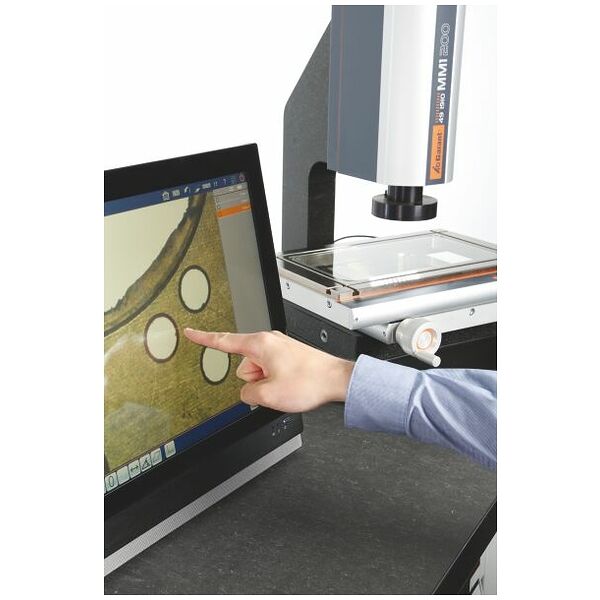
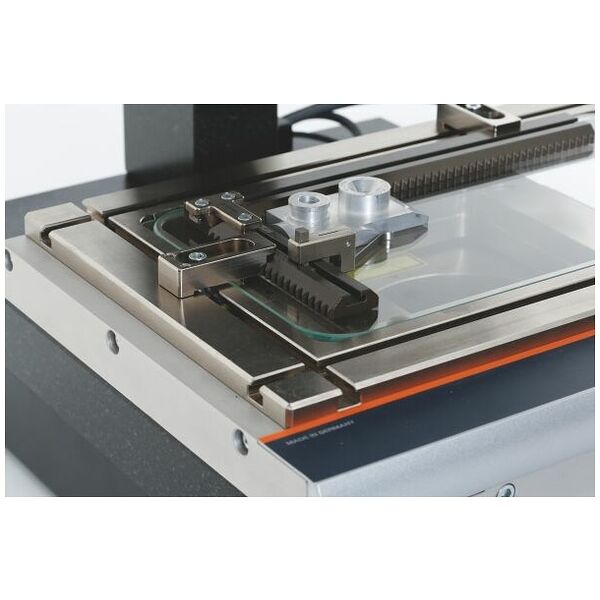
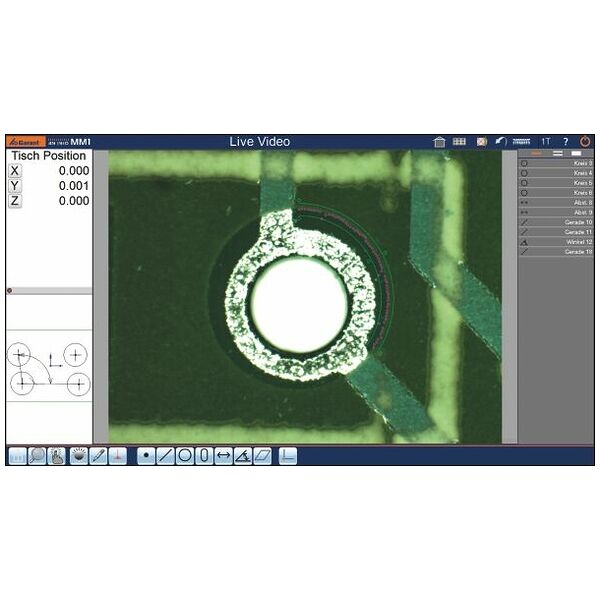
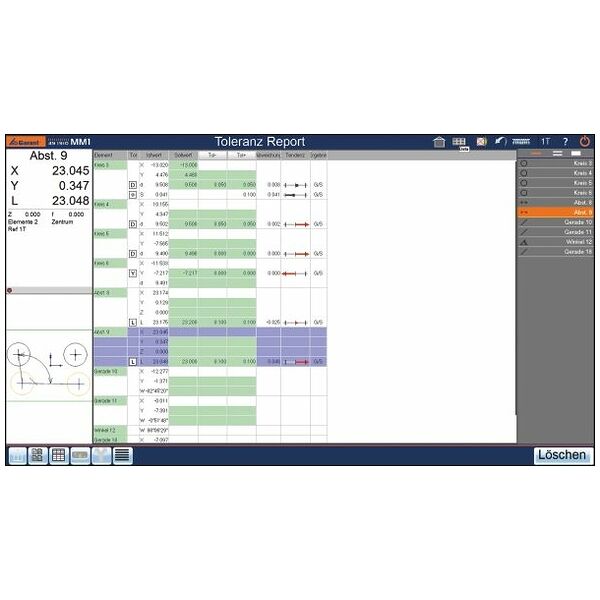
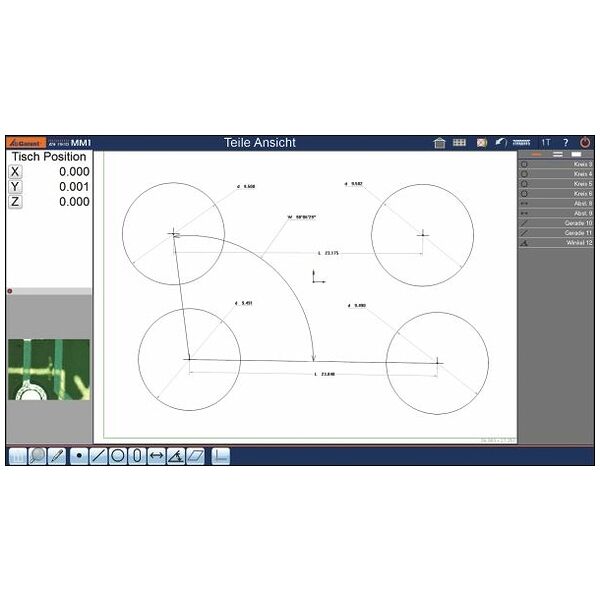
Measuring microscope with quick image processing, high-resolution colour camera, and a multi-touch panel PC that is easy to operate and suitable for the workshop environment, with
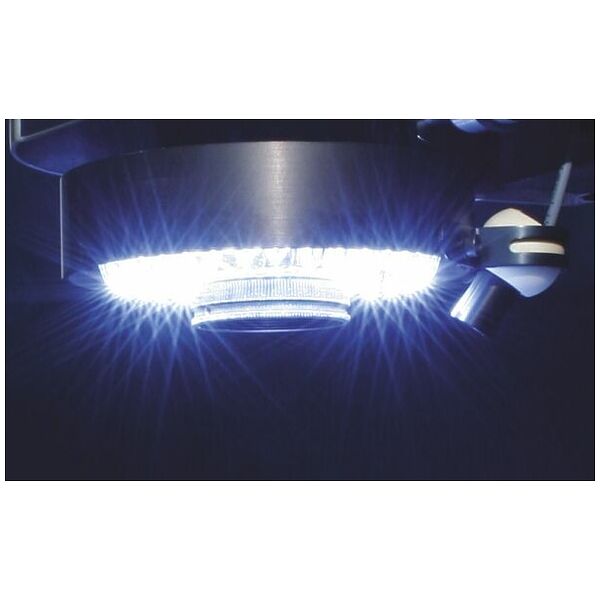
intuitive M3 measurement software.Incident illumination: 56 white LEDs in 2 concentric rings. 1 ring and 4 segments can each be separately switched and dimmed.
Transillumination: Long-life LEDs, telecentric, can be switched and dimmed.
Solid granite base with surface-hardened indexing table and high-precision guides. Ergonomic quick adjustment with one-handed operation in both axes (X and Y).
Diode laser as positioning guide. Very high repetition accuracy thanks to
automatic edge detection.Now with M3 software version 4:- With modern 64 bit application for easy handling of large data.
- Extended measurement programme recording mode with optional standard or extended recording mode.
- Save and load reference system: ideally suited to the use of quick-clamping systems.
- New export functions such as direct export to PDF and improved speed for direct export to Excel.
Application:
- In goods receiving, in the inspection room, in manufacturing.
- Suitable for general purpose use due to flexible four-quadrant incident light and compact measurement computer.
- A wide variety of geometric shapes and materials can be reliably measured in a user-friendly manner. Documentation can also be performed.
Cutting data:
Zoom level / Shown on display / Field of view: 0.35× / 16× / 20×13 mm2.
Zoom level / Shown on display / Field of view: 0.5× / 23× / 14×9 mm2.
Zoom level / Shown on display / Field of view: 1× / 43× / 7×4 mm2.
Zoom level / Shown on display / Field of view: 1.5× / 65× / 4×3 mm2.
Zoom level / Shown on display / Field of view: 2× / 90× / 3×2 mm2.
Zoom level / Shown on display / Field of view: 2.5× / 100× / 3×2 mm2.
Supplied with:
All-in-One PC, wireless mouse and keyboard, dust cover, power supply unit, test certificate, and user manual.
Optional extras:
Lens No. 491912, software option No.
491913, cutting edge cleaner No.
354788; test standard No.
491928; precision vice No.
494480; quick-clamping system No.
494451; base cabinet for measuring microscopes No.
492580.
Note:
Length measurement variation E
UXY, MPE to DIN EN ISO 10360-7 for magnification factor = 0.5.
Permissible ambient conditions: 20 °C ± 1 K, temperature gradient Δ
th = 0.5 K/h, Δ
th = 4.0 K/d, measured with a calibrated standard.
For all GARANT video measuring microscopes we can offer you the following on request:
- Maintenance contract.
- Installation and commissioning with brief instruction on use.
- Individual training for your employees.
- On-site calibration.
We reserve the right to make technical changes and to change the touch panel version.
